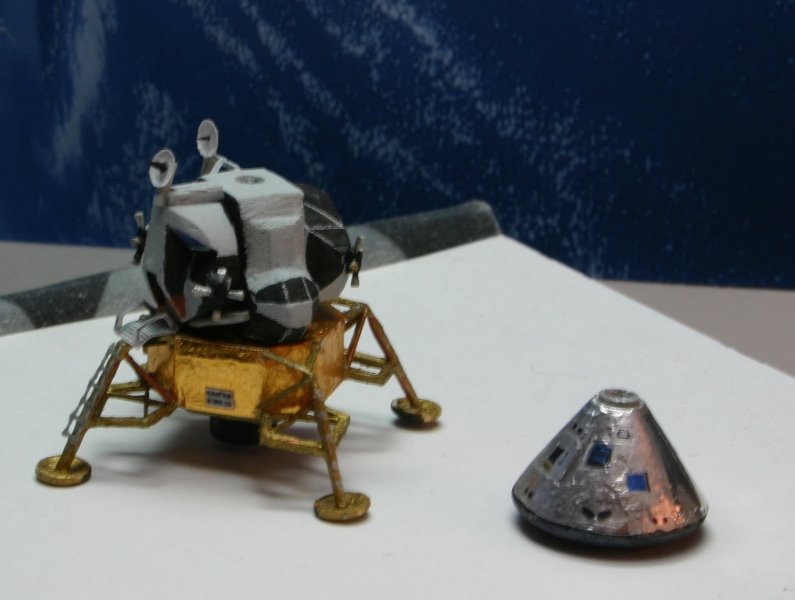
Friday, July 21, 2006

L.E.M Stage 1e - Landing legs (Continuation)

Here, the remaining legs structures were assemble. Those were all pre-assemble V shape structures. 4 V's for the top, and 4 V's for the middle sections. Unfortunately the picture does not show how I installed them, but the main frame was put on its underside and 4 little sticks (on the left) were used to give an angle setup to all 4 top V shapes arms. Once they were glue dry, I installed the remaining 4 sections in the middle, those were pretty easy to install, since the top and bottom were there to support.
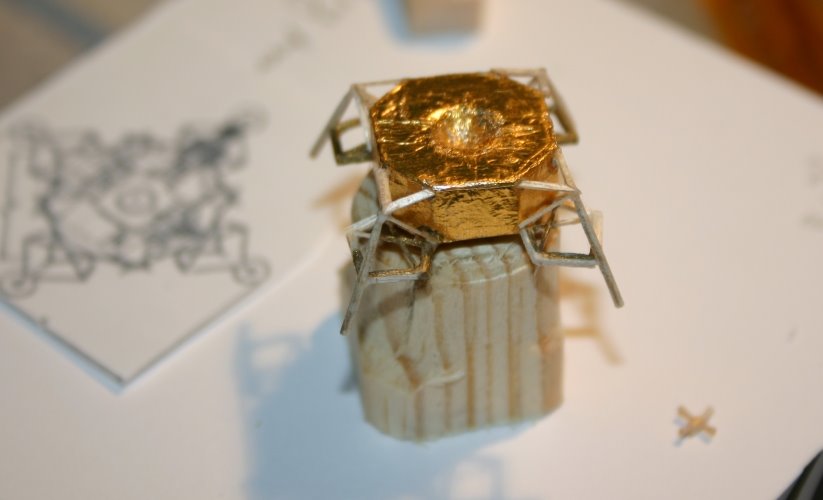
When everything was fully dried, I applied the 4 sticks that serve as legs. A small grove was made on each pentagon points so that the vertical sticks would fit right in.


Forward to Stage 1f or Go back to Stage 1e

Tuesday, July 18, 2006

L.E.M Stage 1e - Landing legs

Building the Lander legs were the most challenging part of building this craft. Each legs had a pentagon shape to be reproduced, with a very small X structure inside. They were all prepared independently and glued on the octagonal base frame. CA glue (Crazy glue) was used to glue all 4 legs to the frame. Since CA glue has a solvent characteristic, it dissolve the ink in the foil and does not stick to it. That is why I drilled some small holes in the foil at each attaching points so that the CA glue would penetrate and bond to the balsa wood behind the foil. We can see the holes (silver color) on top of the frame, being there to attach the remaining structures of each legs. (The cone shape on the left is the command capsule being test fit with some alu foil cut to a conic shape)

This pictures shoes how the command capsule was turn on a lathe. In the middle we can barelly see the 4 pentagon shapes legs already painted gold on one side only, and on the far left, the gold foil being prepared to put on top of the frame.

Forward to Stage 1e (continuation) or Go back to Stage 1d

L.E.M Stage 1d - Landing section

The underside of the landing section has an engine cone well positioned inside a smaller octagonal part.

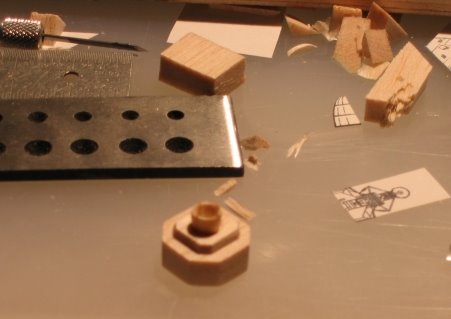
Before squaring the part, the shape was rounded in the middle to accept the curve of the thrust cone. It was turn on the lathe.

The main engine cone was also turn on a lathe. We can see the cone on the right of the picture.


This picture shoes everything in place.


Forward to Stage 1e or Go back to Stage 1c

Monday, July 17, 2006

L.E.M Stage 1c - Front fuselage

The front fuselage was quite hard to model; it has several different shapes and angles (mostly the weird triangle windows shapes)

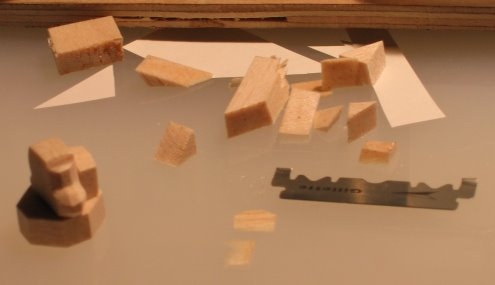
At first: The basic round shape on the left of the picture was turn on a lathe ( Unimat 1 ).


Then the angles were cut off with a razor blade.

The nose and door sidings were put after the windows angles were cut; otherwise it would have not been possible to cut the straight angles shapes. The nose was sanded to dimension directly on the fuselage.

Forward to Stage 1d or Go back to Stage 1b

L.E.M Stage 1b - Octagonal part of the landing section

Using a Gillette blade broken in half, all 8 sections are cut following dimensions.

Then using a nail file, minor defects are sanded off.


Forward to Stage 1c or Go back to Stage 1a

L.E.M Stage 1a - The fist steps of building the Lem

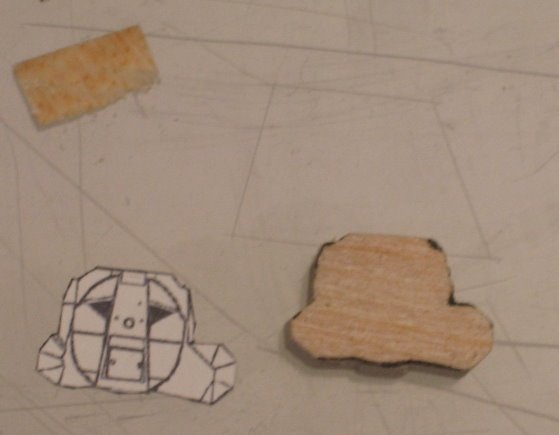
Traced from the reduced nasa plan, the middle shape was cut to dimensions.

Balsa wood was used for 90% of the parts, the other round shape parts were made out of pine wood, mostly all turn on a miniature lathe.

Forward to Stage 1b or Go back to Stage 00

L.E.M Stage 00 - Details on how to build a 1:220 scale Lem Model

Introduction and basic story of Apollo 13:
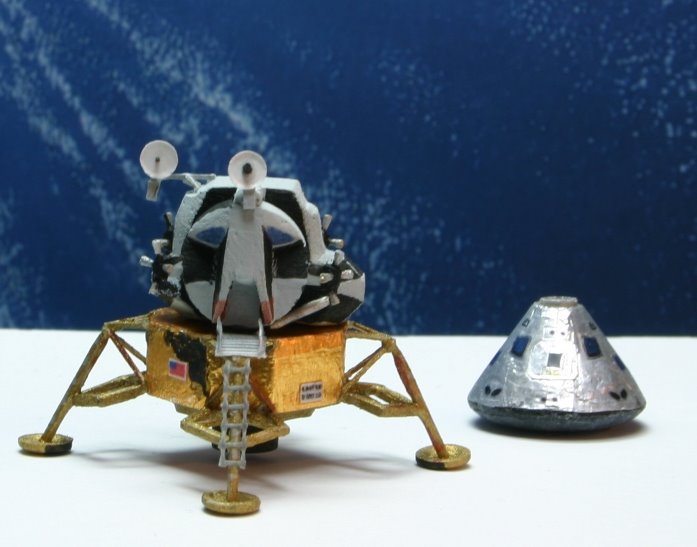
This little craft (scale of 1:220), was constructed for the Starshipmodeler heroes contest. Here you will find some of the basic construction process stages. They are explain with the best of my ability, never the less, some detail work could be left out, so if you need more info, just leave me a note about it in the comments link below.
The Story: Apollo 13 was to be the third mission to land on the Moon. An explosion in
one of the oxygen tanks crippled the spacecraft during flight, and the crew were forced to orbit the Moon and return to the Earth without landing. During the time it took to come back to earth, the lunar module "Aquarius" was used as a lifeboat.

After having jettisoned the service module, there was only one thing left to do before reentry.

Unlike Odyssey, the lunar module Aquarius had no heat shield and was not designed to withstand the fiery plunge into the Earth’s atmosphere.
Before they could come home, Lovell, Swigert and Haise would have to say goodbye to the craft that had saved their lives.

With Lovell safely inside the command module, the men sealed off the hatchway and then, with a mixture of sadness and gratitude, cast off the lander.

In Mission Control Joe Kerwin radioed an appreciation: "Farewell, Aquarius, and we thank you.

Forward to Stage 1a for the start of the construction process.